Paint Tips with Zane – Hot Stuff
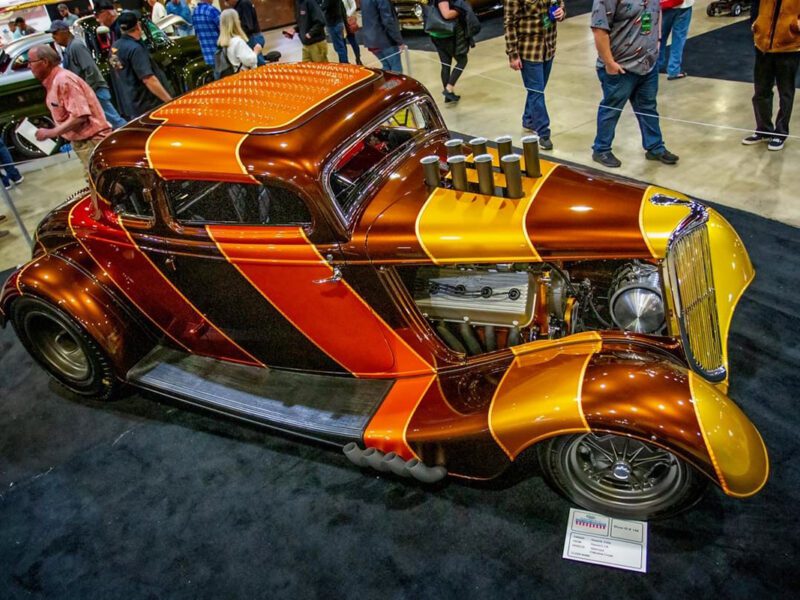
Flames are one of the most enduring forms of paint embellishments on hot rods. They were popularized in the 1950s and ’60s, have seen a wide range of style treatments through the decades, and still capture a lot of attention today. Nothing quite says “hot rod” like a set of colorful yellow, orange, and red licks on a black paint job.
We had a little more space flexibility for the Paint Tips column this month, so I thought it would be a good time to show a basic step-by-step process for painting flames. For ease of illustration, I used an old surfboard as a demonstration surface – it was large enough to allow for design versatility, but small enough to quickly prep, lay out, and paint. If you’re a first-time flame painter, it’s a good idea to practice on something like this, or possibly a spare fender or hood.
There are many styles when it comes to flame shape, length, and color. I thought the classic combination of yellow-to-orange-to-red on a black surface seemed fitting for this quick tutorial. Follow along for some basic flame tips, and then start thinking about where you might want to add some heat!
-

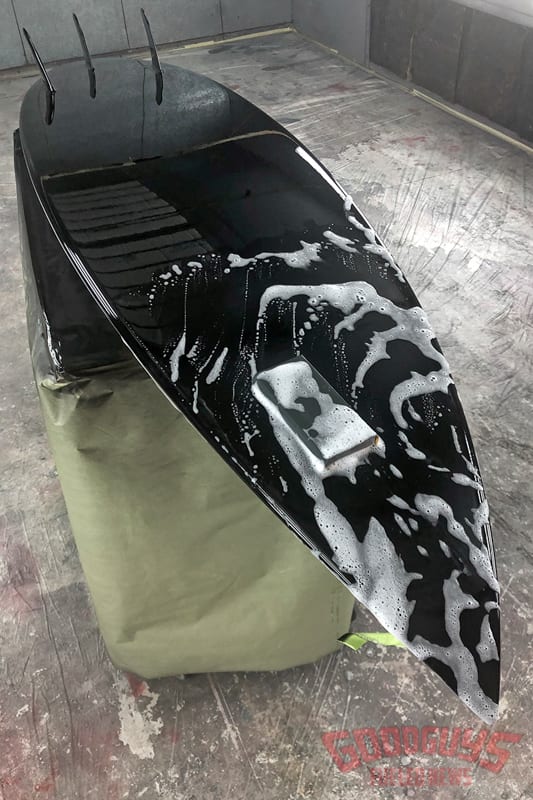
- I used an old surfboard to demonstrate this flame-painting technique. The board was first painted with a basic black basecoat, clearcoat finish. Once dry, I wet sanded the paint using 1000-grit paper and a rigid sanding pad to smooth the surface and prep it for additional paint.
-
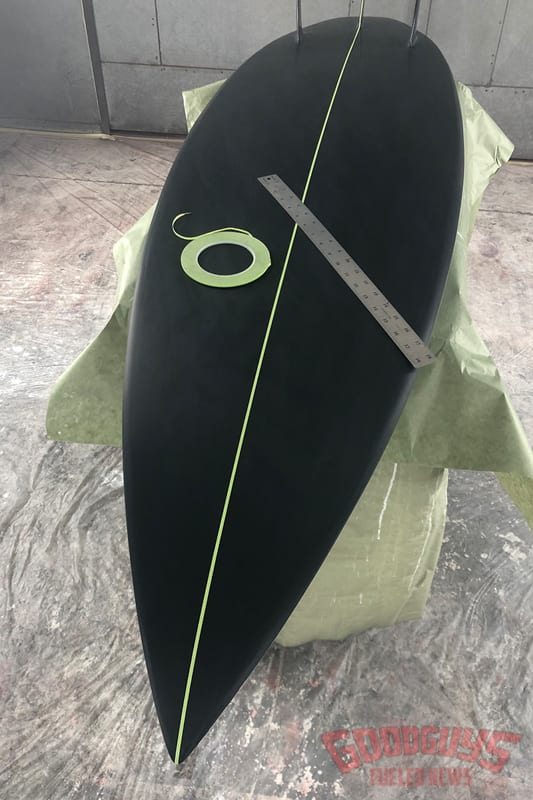
- I used 1/8-inch masking tape to mark my centerline. On most surfaces, it’s best to work from the center outward.
-
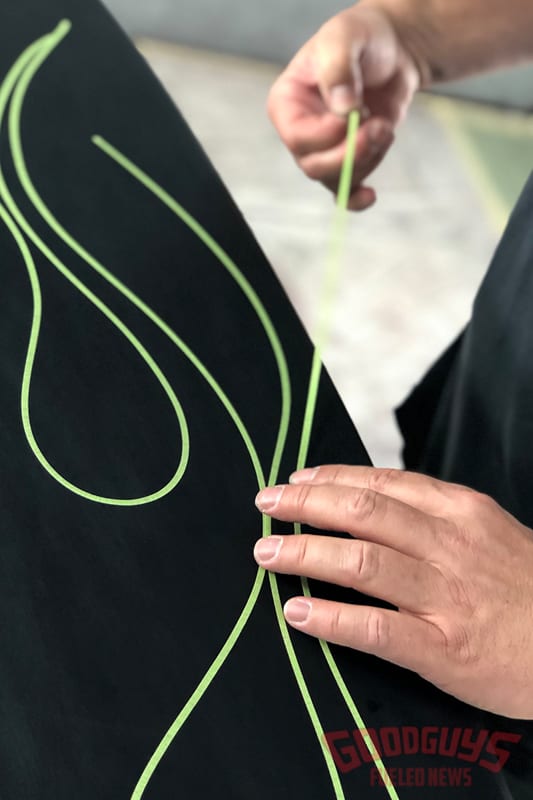
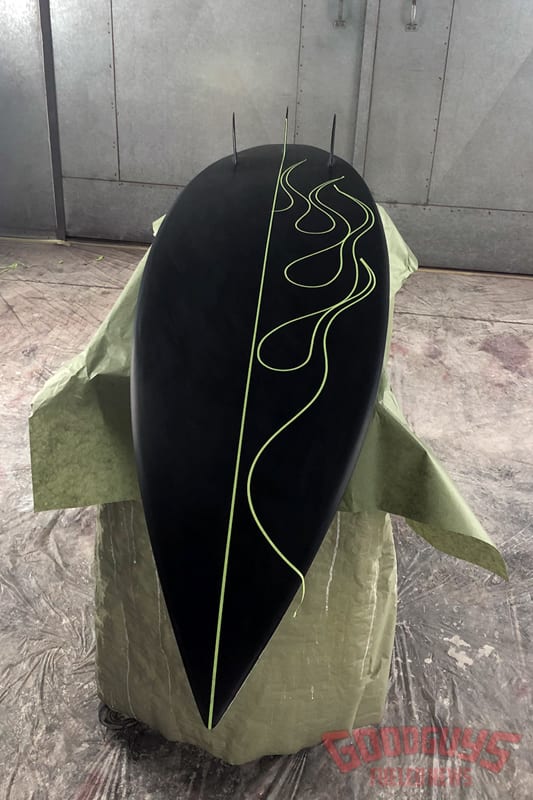
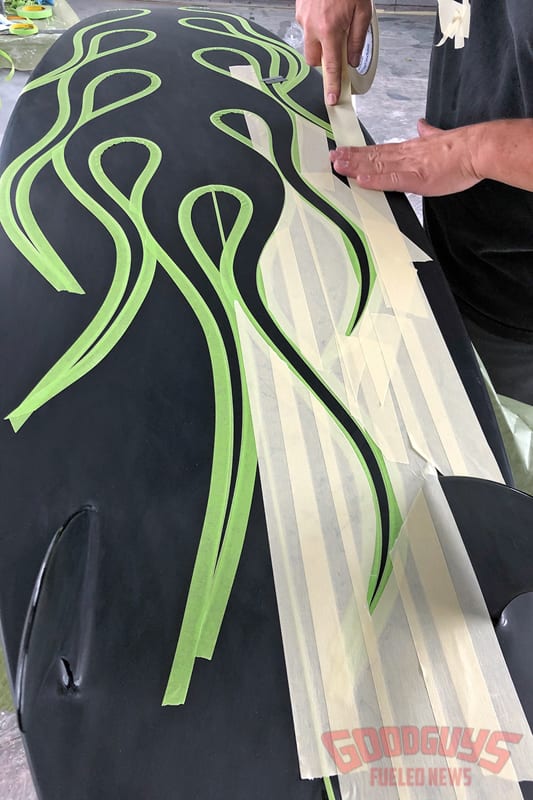
- Most flames are done freehand. Learning shape and design is an acquired skill, but there are many examples you can find for inspiration and direction. I used 1/8-inch masking tape for initial layout. There are a lot of specialty tapes out there – it doesn’t hurt to try a few to find what works well for you. Basic masking tape works well with my layout techniques, so I have always stuck with it.
-
- With one side done, you can make a template and transfer it to the other side of your centerline to create a mirror image…
-
- …or you can do a non-symmetrical pattern, as I did here.
-
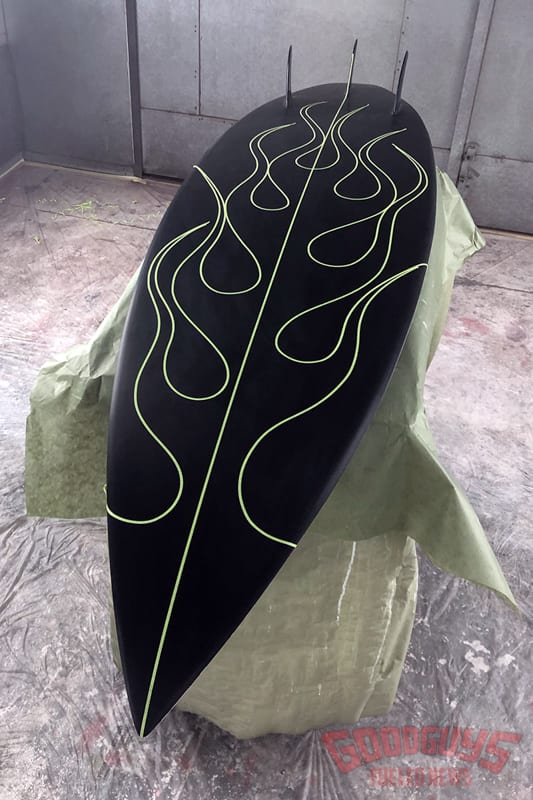
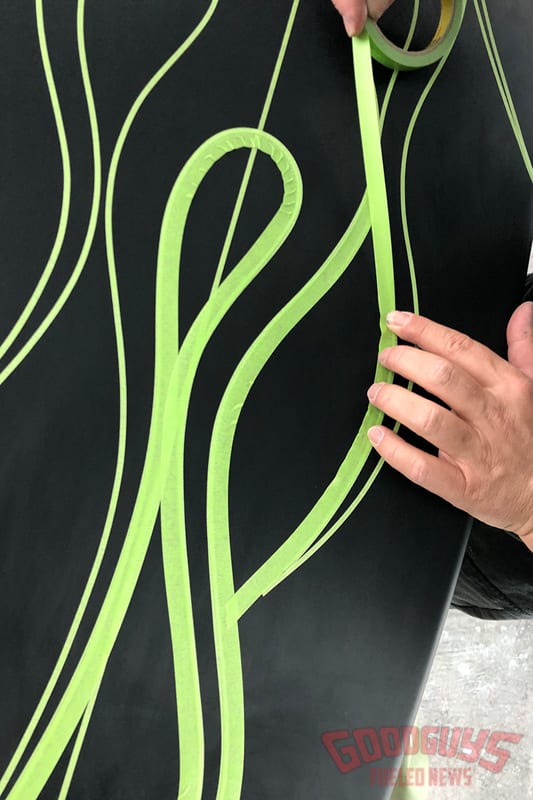
- With the flame pattern established, I went back over the 1/8-inch tape using ½-inch tape to make more of an outline. The wider tape overlaps the narrower outline, which will allow for easier trimming.
-
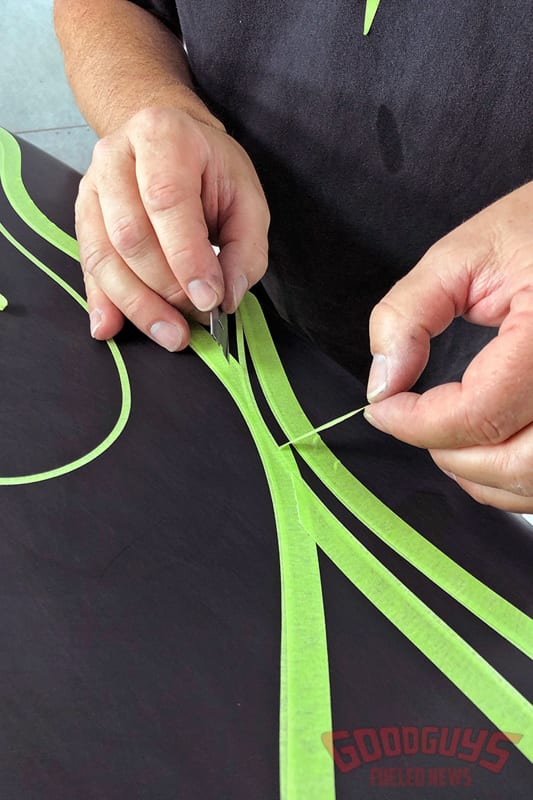
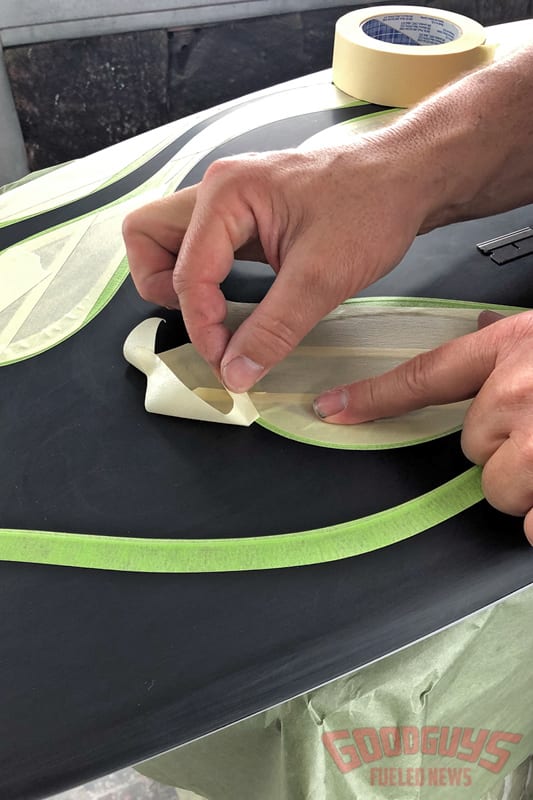
- There will be some areas where the wider tape overlaps the flame pattern. A careful, delicate approach with a straight-edge razor blade allows excess tape to be trimmed away.
-
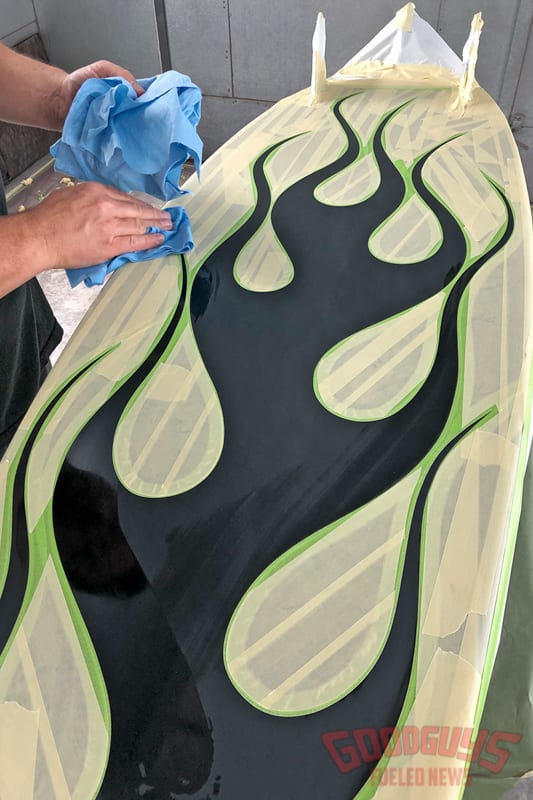
- Wider 1.5-inch masking tape was used to mask any remaining areas that would not get painted.
-
- Again, a careful touch with the razor blade allowed me to trim off excess tape. I always trim where there are multiple layers of tape to avoid nicking the actual paint surface.
-
- With everything masked, the surface was cleaned with wax and grease remover.
-
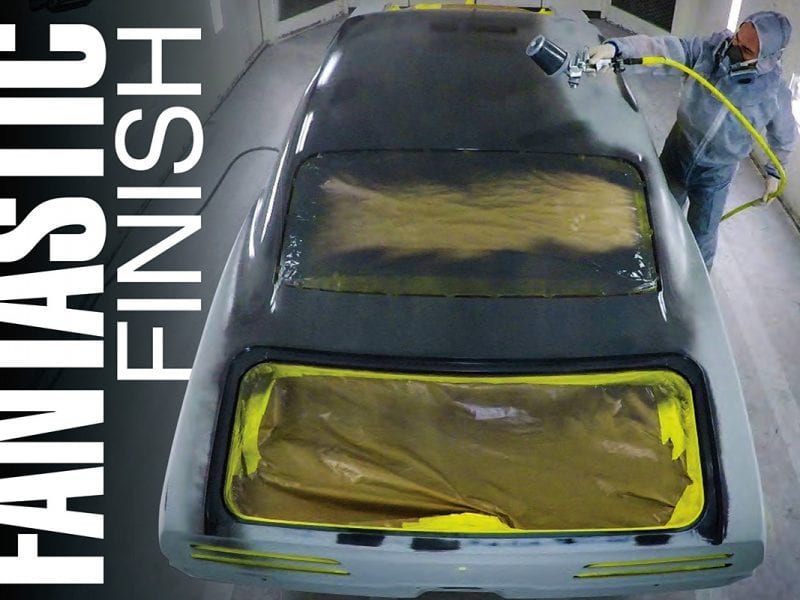
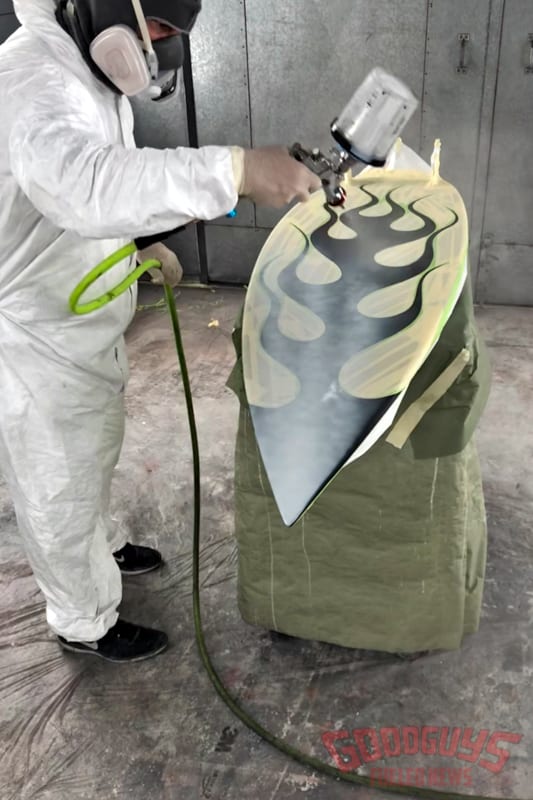
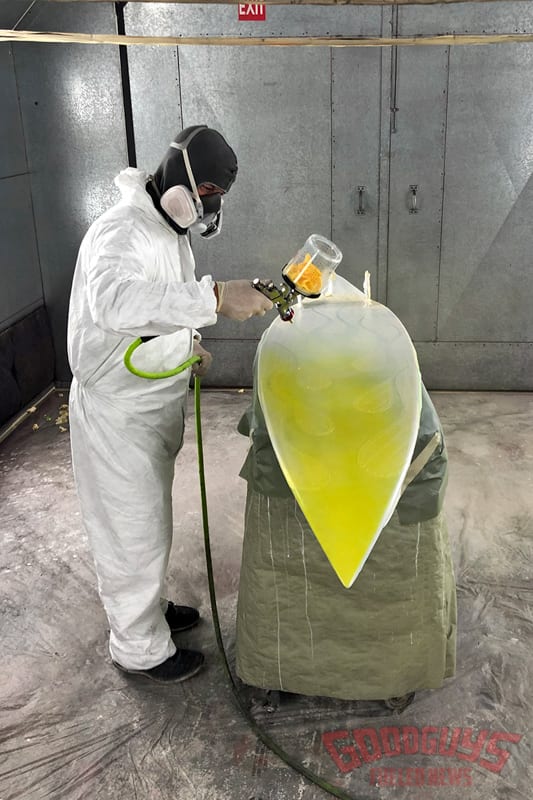
- When doing lighter flames over black, I always start with a solid white sealer as a base coat. This helps the other colors to pop brighter without having to add multiple coats and build up surface thickness.
-
- Next came the first color for the flames – bright yellow.
-
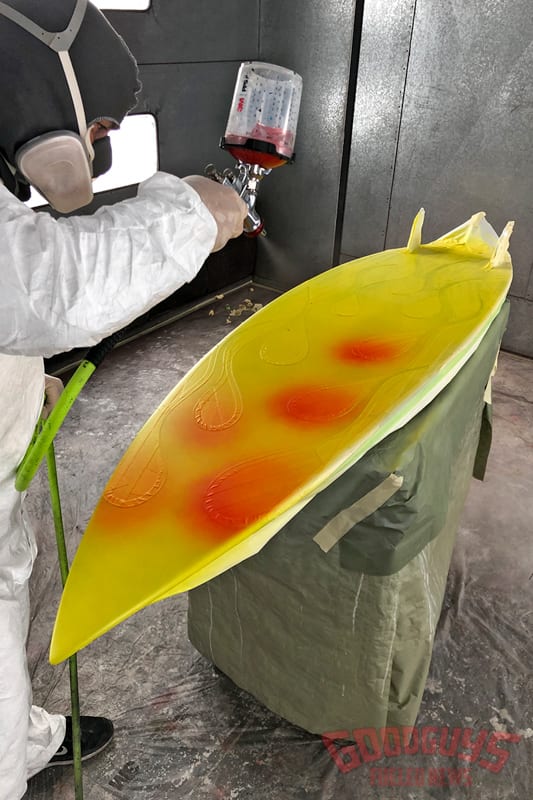
- I went back over the yellow using orange, which was fogged into the tips, along the edges, and inside crescent shapes of the flames.
-
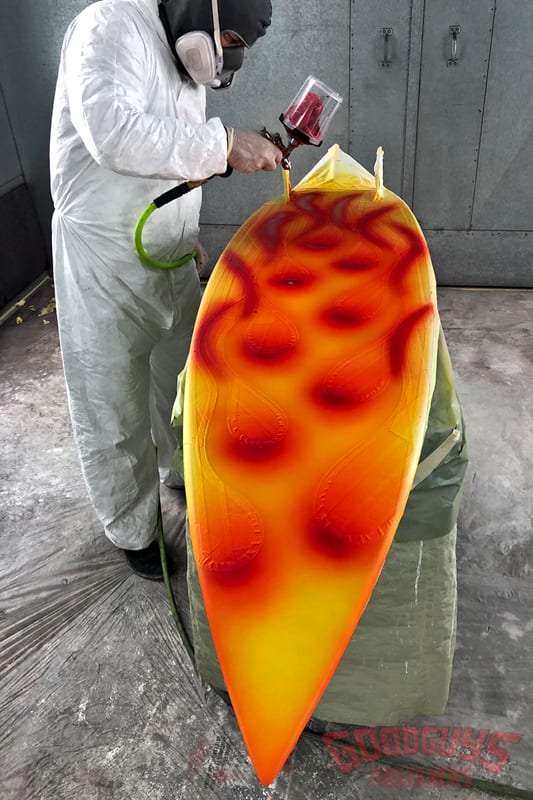
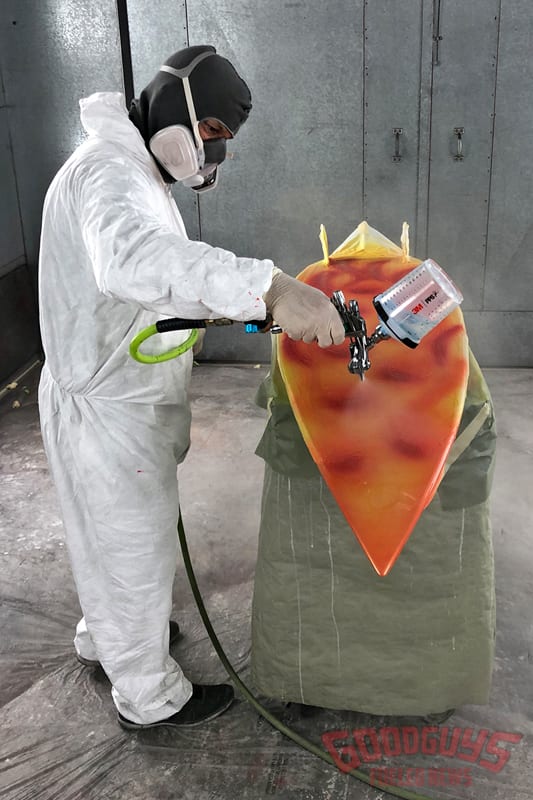
- The red paint came next. It was applied more heavily to the flame tips, with a lighter overspray technique used to get a blending effect with the orange and yellow. Again, this is a learned skill – it’s good to practice and develop your technique before trying it on an actual car.
-
- Once the flame colors were painted, I topped them with a coat and a half of clear.
-
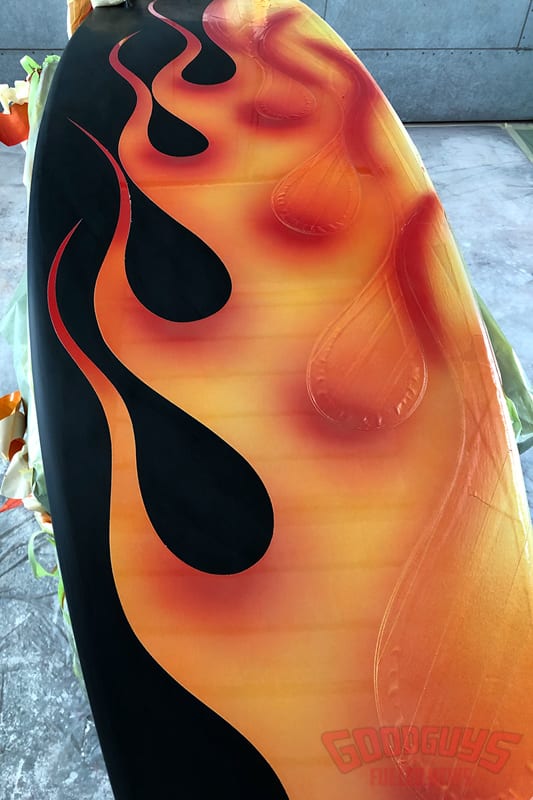
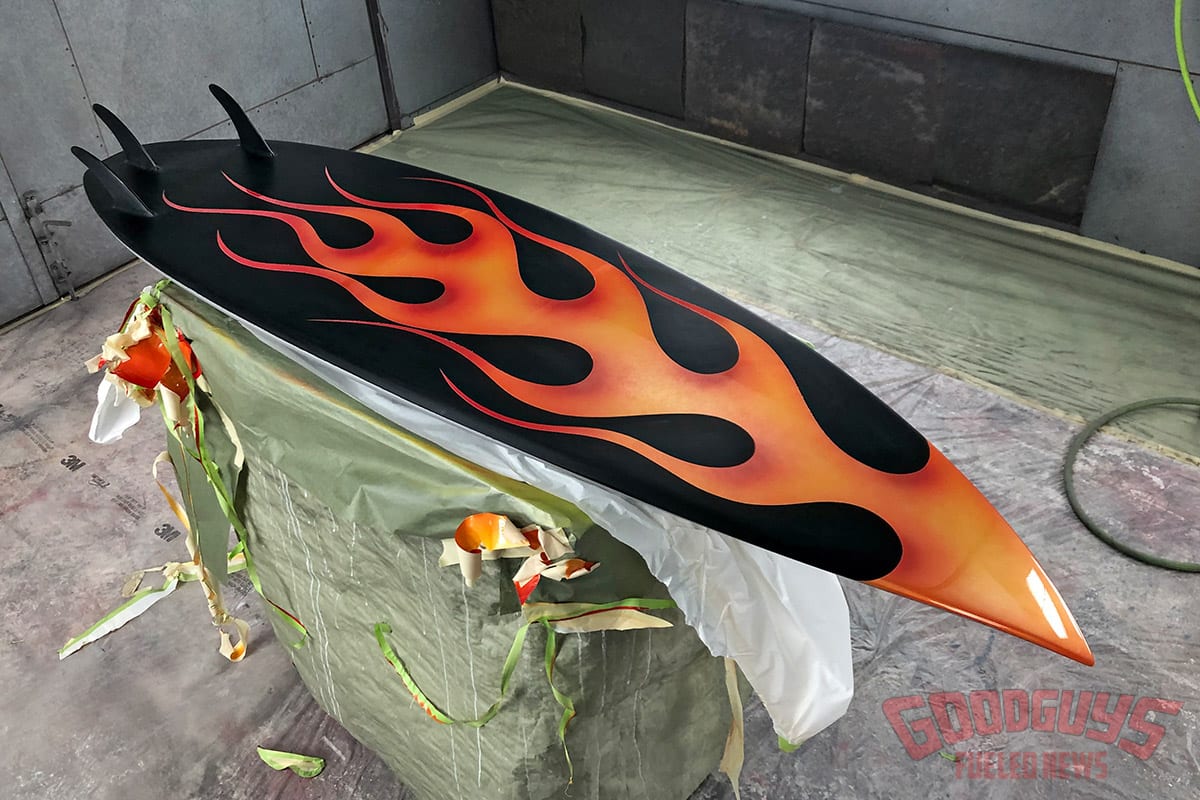
- Peeling off the tape reveals our hot new licks! To finish off this flame job, I will apply additional clear over the entire board, and then carefully sand the clear to reduce the “edge,” or excess surface thickness buildup from the flames. Then, I’ll have a pinstriper outline the flames in a contrasting color before adding more clear, and then ultimately sanding and polishing everything to create a flat, uniform surface.